This is the part where we make things “happen” in the background. In the Configuration section you configure things like currency, language, logo, email templates and how your front end you want look.
That’s right, you can even customise the colour, how your invoices look, setup subscriptions and connect credit, debit and bank accounts for easy payments by your customers.
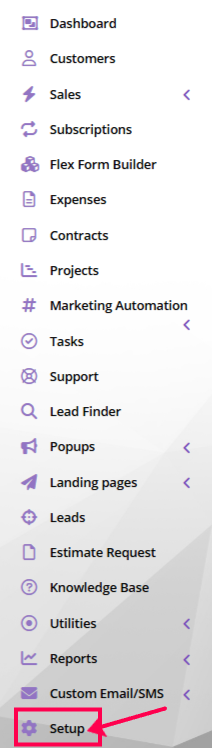
This page will deal with basic setup info like your company name and logo, so to start with, hit the Setup at the bottom of your left-hand menu to open it.
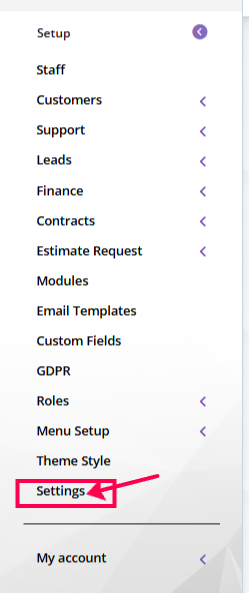
Once you click it, the menu changes to the Setup menu, so your next task is to navigate to Settings, again at the bottom of the left-hand menu and click it.
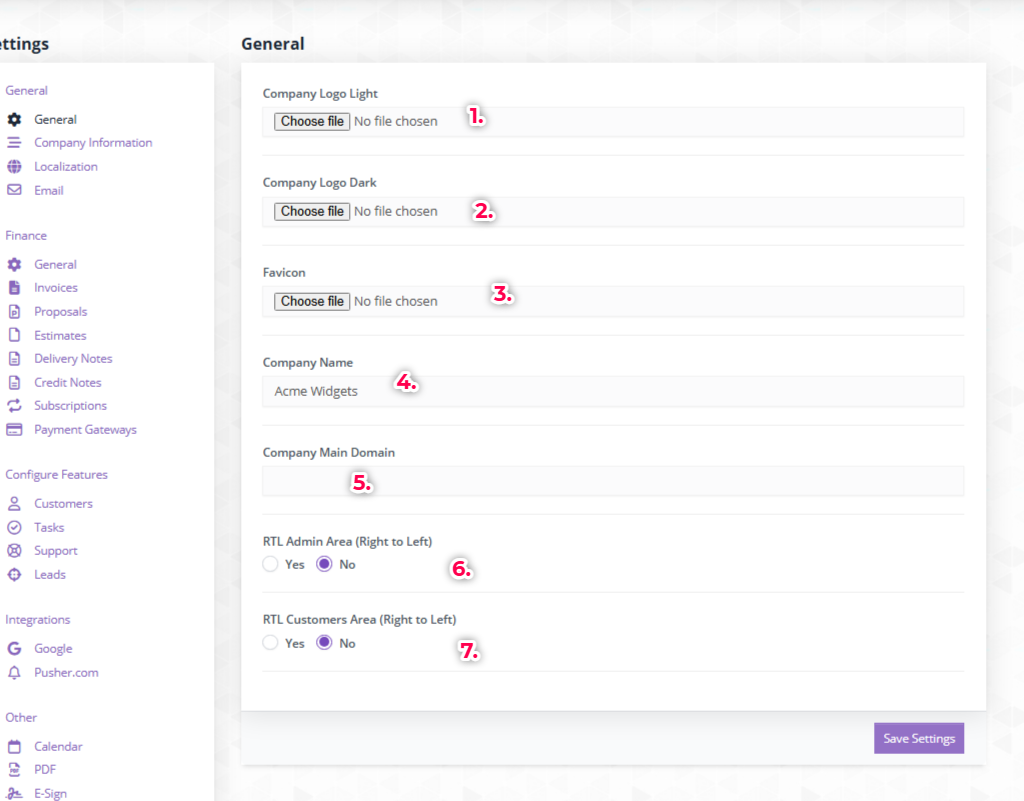
The settings page will load on the screen and now you can start customizing.
- First, add your logo. Your logo should be resized to 150px wide x 34 px height, preferably on png.
- Optionally, add your logo in a dark background. This is most helpful, if we ever decide to give you the option to change the screen from white to black, for better eye health (in the near future. If we decide this, we will give you a heads-up weeks before.
- If you have a favicon, add it as well. It is easy to create a favicon if you don’t have to there are free services, like https://favicon.io/favicon-converter/
- Then add, your company name
- Now, here’s a bit tricky. If you asked at the registration to have your own domain, you should add it here, like acmewidgest.com
- Then select if you want right to left keyboard or not as well as if your customers are Arabic or any way they right right to left, select that. If not, click no.
Follow the numbers in the screenshot:
Congrats! You now branded your Intellent CRM – a bit.
Let’s move to company information now.


Add a Comment
You must be logged in to post a comment